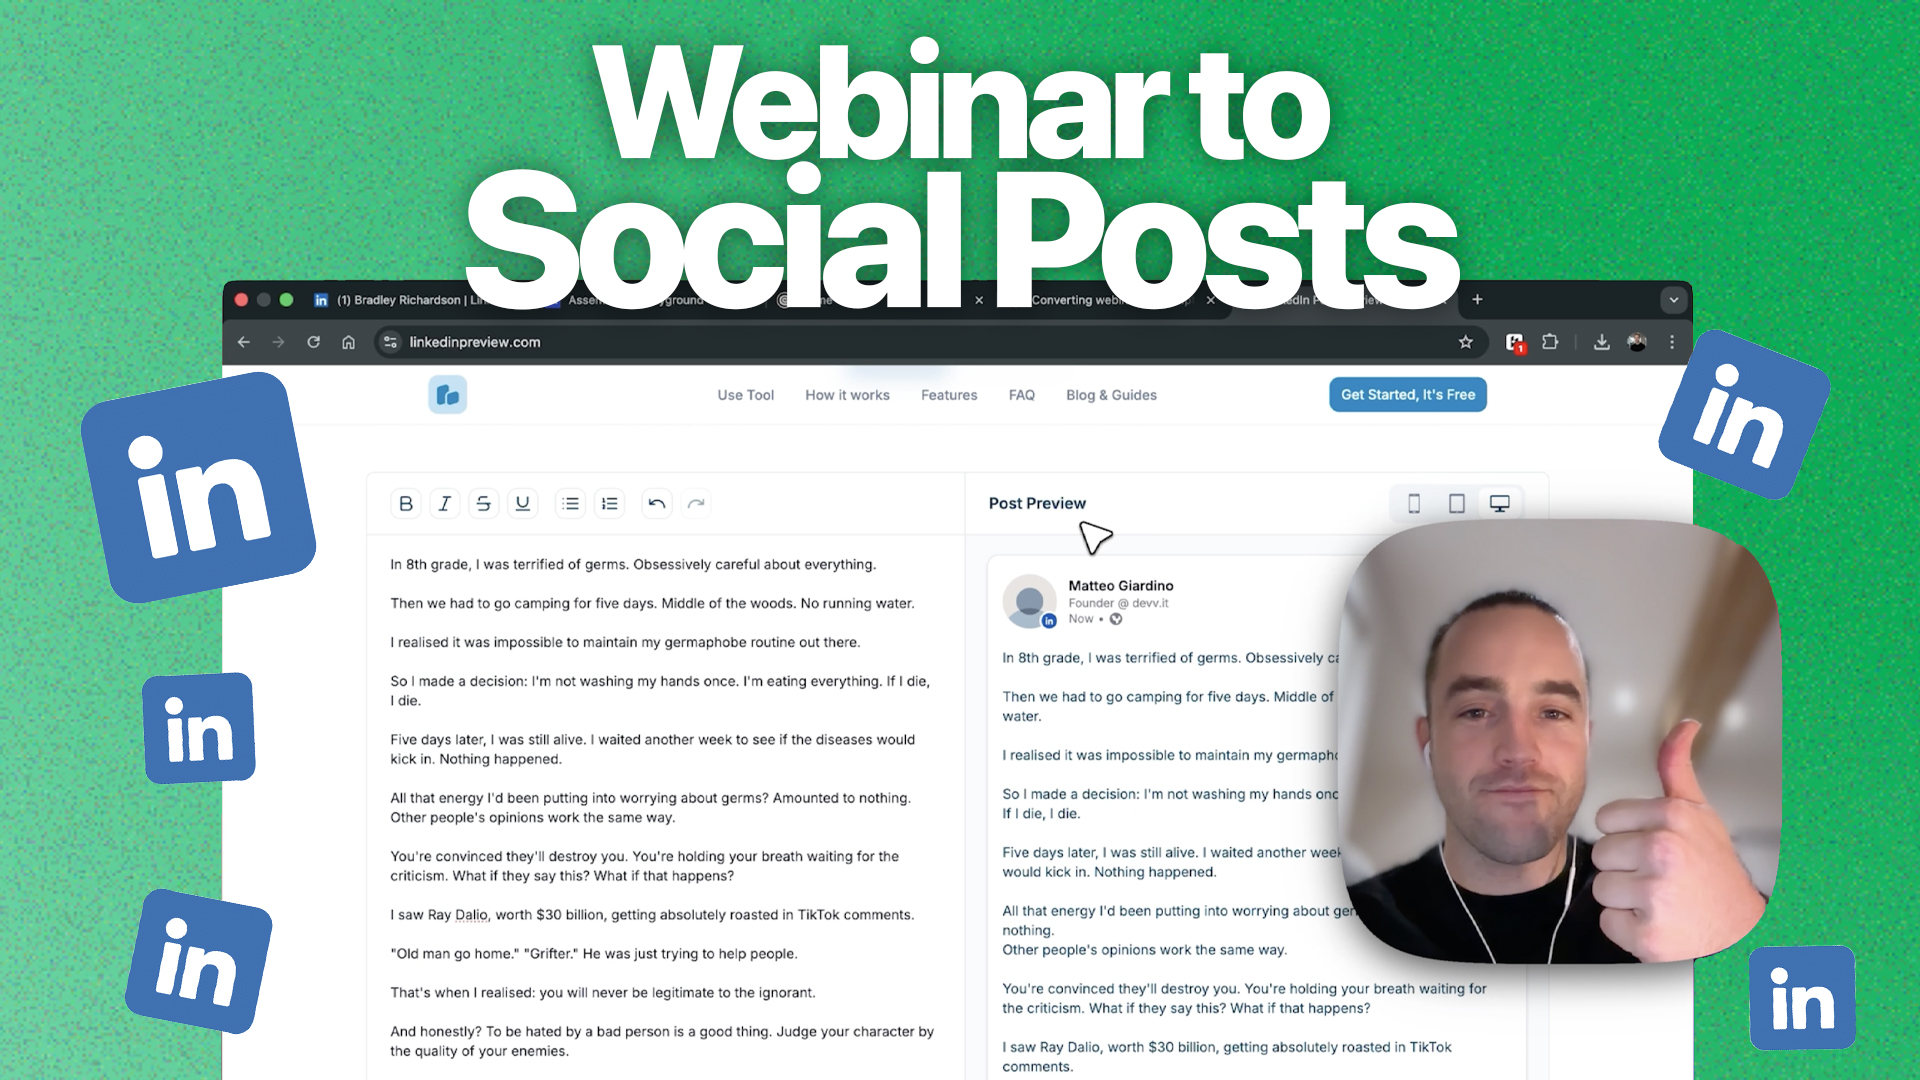
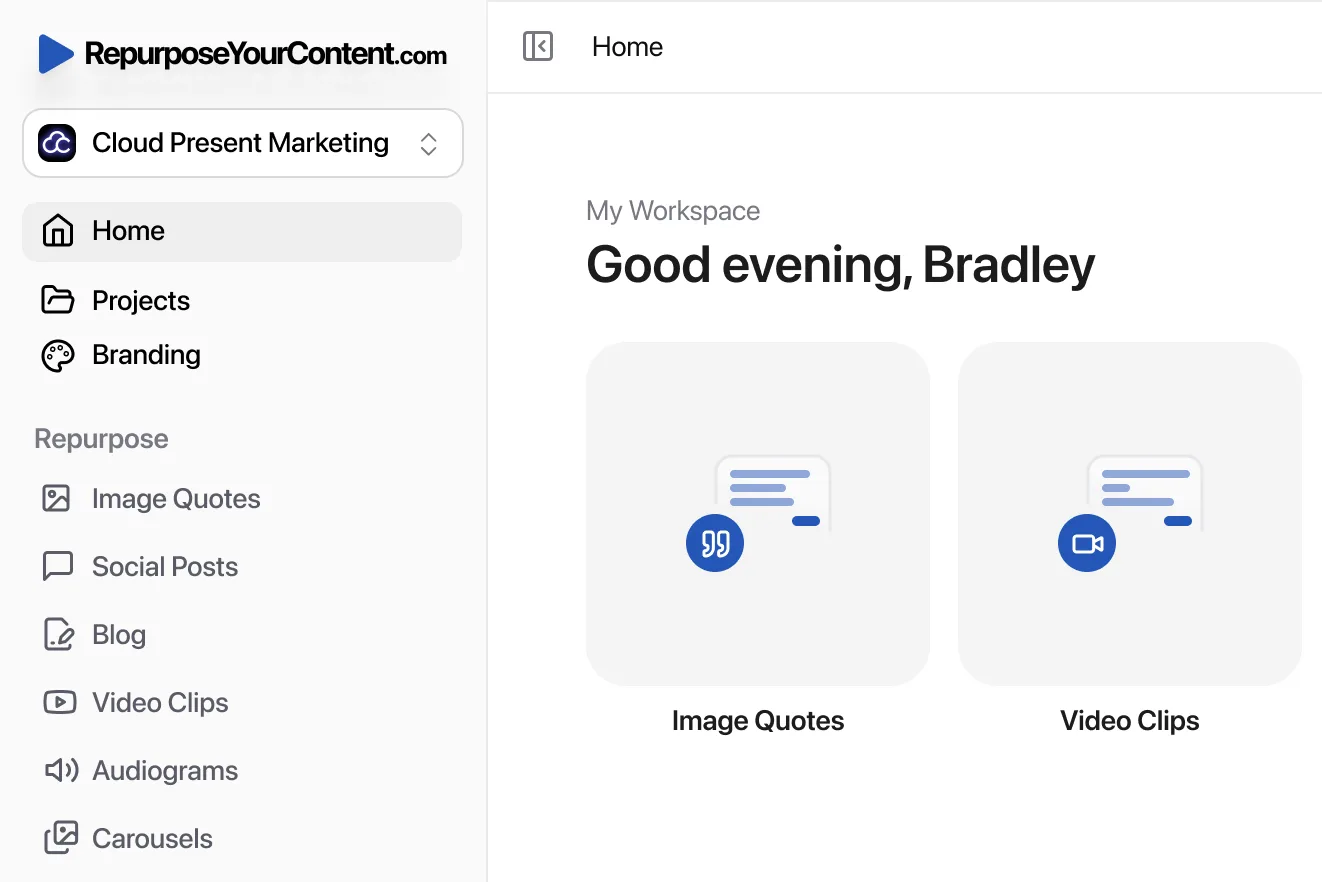
Image quotes are one of the most shareable content formats on social media. A well-designed quote card featuring a compelling insight from your webinar speaker can stop the scroll, spark engagement, and drive traffic back to your full recording. They work across every major platform - LinkedIn, Instagram, Twitter/X, Facebook - and they take far less effort to produce than video clips or blog posts.
In the video above, we walk through the complete process of taking a real webinar recording (an OpenAI keynote), extracting the most shareable quotes, and designing them into professional image cards, all using free tools. This written guide follows the exact same workflow step by step, so you can follow along at your own pace.
Here is exactly what you will need and what you will do across four phases: transcribe your webinar, extract quotes using AI, design the graphics in Canva, and export your finished image quotes.
What You'll Need (Tools Overview)
The entire workflow uses free tools. The only optional paid tool is an AI chatbot subscription (Claude, ChatGPT, or Gemini), but you can use the free tiers of any of these, a paid plan just gives you better output quality and longer context windows.
- A transcription service (free tier) -to convert your webinar video into a text file. We recommend AssemblyAI, Rev.com, or Transcript.lol. Each has a free tier with different limits (details below).
- An AI chatbot (Claude, ChatGPT, or Gemini) -to analyze your transcript and extract the most shareable, impactful quotes. You will give it a specific prompt to get the best results.
- Canva (free tier) -a browser-based design tool for creating the actual image quote cards. The free plan includes everything you need: custom dimensions, fonts, text boxes, image uploads, and PNG export.
- Pinterest (optional) -for browsing design inspiration before you start creating your cards in Canva.
- Your webinar MP4 file -the original recording from your webinar, keynote, or virtual event.
Phase 1: Transcribe Your Webinar
The foundation of great image quotes is a complete, accurate transcript. Without one, you are relying on memory to identify the best moments, and you will miss most of them. A full text transcript lets you scan, search, and highlight every quotable line your speakers said.
Choosing a Transcription Tool
We tested three free transcription services. Each has different limitations on the free tier, so choose the one that fits your recording length:
- AssemblyAI (recommended) -gives you approximately $15 worth of free credits when you sign up, which is enough for roughly 100 hours of audio. This was the best option for longer recordings. In our test with a 52-minute OpenAI keynote, it handled the full file with no issues and credits to spare.
- Rev.com -offers 45 minutes of free transcription. If your webinar is under 45 minutes, this works perfectly. Our 52-minute file was too long for the free tier, so we could not use it.
- Transcript.lol -another free option, but in our test it only transcribed the first 20 minutes of the recording before cutting off. Useful for short clips, but not reliable for full-length webinars on the free plan.
Step-by-Step: Transcribing with AssemblyAI
Here is the exact process we followed in the video:
- 1. Go to AssemblyAI and sign up for a free account if you do not have one. Navigate to the playground or upload page.
- 2. Upload your MP4 file by dragging and dropping it into the upload area. AssemblyAI accepts both audio and video files.
- 3. Configure your settings. Set the model to "Universal" which handles most languages and audio quality levels well. Leave language
detection on automatic. For the other settings:
- Speaker labels -you can leave this off for quote extraction (we do not need to identify who said what at this stage, though it can help with multi-speaker panels).
- Key terms -not needed for this workflow. You can add them if you have industry-specific terminology you want transcribed accurately.
- Auto punctuation and text formatting -leave on default.
- Filler words -turn off. You do not want "um" and "uh" cluttering your transcript when you are extracting clean quotes.
- Translation -not needed unless your webinar is in a different language.
- Content guardrails -not needed.
- 4. Click "Transcribe File" and wait for processing. In our test, the 52-minute file took well under 200 seconds, much faster than expected.
- 5. Download the transcript once processing is complete. Click the download button and save it as a .txt file (a .docx also works). The .txt format is the simplest to upload into an AI chatbot in the next step.
You now have a complete text transcript of your webinar saved to your computer. This is the most important piece of the puzzle, everything else builds on it.
Phase 2: Extract Quotes Using AI
Reading through a 52-minute transcript and manually picking out the best quotes takes time and subjectivity. AI tools like Claude, ChatGPT, or Gemini can analyze the entire transcript in seconds and identify the most shareable, impactful lines, along with context about why each quote works well.
Setting Up Your AI Workspace
In the video, we used Claude (specifically the Sonnet 4.5 model, there is no need to use the more expensive Opus model for this task). We created a dedicated "Webinar to Image Quotes" project in Claude to store our instructions, though a standard chat works just as well. The project feature simply keeps your system prompt persistent across multiple conversations.
If you are using ChatGPT, you can achieve the same thing with Custom Instructions or simply paste the prompt at the start of each conversation. Gemini works similarly.
The Prompt (System Instructions)
The quality of your output depends almost entirely on the quality of your prompt. Here is the approach we used, which you can adapt for your audience:
"You are an expert marketing strategist specializing in B2B social media content for tech audiences, particularly on LinkedIn. Your task is to extract highly shareable, impactful quotes from keynote transcripts that will resonate with a professional audience."
This is critical: you want to tell the AI who the target audience is. A quote that works for a consumer audience on Instagram is different from one that resonates with B2B decision-makers on LinkedIn. Tailor the persona to match your actual audience.
The prompt should also specify what you want in the output. In our setup, the AI was instructed to:
- Analyze the full transcript and identify 10 to 15 candidate quotes
- For each quote, provide the theme (e.g., "AI Adoption & Maturity"), an explanation of why it works for social sharing, and a visual suggestion for how to design it (e.g., "Bold white text on dark background, split 'play with' and 'build with' on separate lines")
- Rank and present the Top 5 quotes by shareability potential
Running the Extraction
With your instructions set, the actual execution is simple:
- 1. Upload your .txt transcript file to the chat. In Claude, you can click the attachment icon and select the file. In ChatGPT, you can upload it directly.
- 2. Type your message: "Please extract shareable LinkedIn quotes from the following transcript."
- 3. Wait for the output. The AI will process the full transcript and return a structured list of quotes.
In our test with the OpenAI keynote transcript, Claude returned 15 candidate quotes, each with a theme, "why it works" explanation, and visual suggestion. It then ranked the top 5 by shareability potential. Here are the top 5 it selected:
- 1. "AI has gone from something people build to play with, to something people build with every day."
- 2. "Software used to take months or years to build. You saw that it can take a few minutes now to build."
- 3. "We think this is the best time in history to be a builder. It has never been faster to go from idea to product."
- 4. "With AI, you don't need a huge team, you need a good idea and you can bring it to reality faster than ever."
- 5. "You can really feel the acceleration at this point."
Review the AI's selections and confirm you are happy with them. You can ask for more options, request quotes on a specific topic, or have the AI refine its selections. Once you are satisfied with your top 5 (or however many you want to design), move on to the design phase.
Phase 3: Design Your Image Quotes in Canva
With your quotes selected, it is time to turn them into visual assets. Canva's free tier has everything you need - custom dimensions, thousands of fonts, text formatting, image uploads, and PNG export.
Setting Up Your Canvas
Open Canva and click Create. Search for "LinkedIn Post" to get the optimized dimensions (typically 1080x1080px square format). This size works well across LinkedIn, Instagram, Twitter/X, and Facebook. If you cannot find the LinkedIn Post preset, you can create a custom design at 1080x1080px.
Research Before You Design
Before jumping into the blank canvas, spend a few minutes on Pinterest searching for "quote card design" or "image quote social media." This gives you a wealth of layout inspiration. In our research, we found several popular approaches:
- Large quotation marks with the quote text centered beneath them
- Speaker photo on one side with the quote text on the other
- Full speaker photo as background with a gradient overlay at the bottom and the quote layered on top
- Bold typography on a branded gradient background -clean, no photo, just text and color
We also recommend checking the LinkedIn page or website of the company or speaker you are quoting. Look at what colors, gradients, and fonts they use in their own branding. For the OpenAI keynote, we noticed that OpenAI uses gradients heavily in their visual identity, and their brand font is Open Sans. Matching the speaker's brand makes your quote cards feel more authentic and polished.
Design Style A: Photo-Based Quote Card
This style uses an actual photo of the speaker alongside the quote text. It is the most engaging format because the human face draws the eye. Here is the exact process:
- 1. Get a speaker photo. You can screenshot a frame from the webinar recording, download a photo from the speaker's LinkedIn profile, or use a press photo from their company website. Upload this image to Canva (either via the Uploads tab or by adding it to a Canva project).
- 2. Place the photo on one side of the canvas. Drag it to the right side, leaving the left side open for text. Resize so the speaker fills roughly half the frame.
- 3. Add a text box and paste your selected quote. Position it on the opposite side of the speaker photo.
- 4. Set the font to match the speaker's brand (we used Open Sans for the OpenAI keynote). Set the weight to Semi-Bold for good readability without being too heavy.
- 5. Set the font size to approximately 45-50pt on a 1080px canvas. The text needs to be readable at phone screen size, so do not go smaller than 40pt.
- 6. Align the text to the left and make sure it does not cover the speaker's face. Adjust positioning until the layout feels balanced.
That is your first card. It is deliberately simple - a strong photo, a strong quote, clean typography. Simplicity is what makes quote cards shareable.
Design Style B: Gradient-Based Quote Card
This style uses a branded gradient background with typography as the star. No photo needed - just text, color, and white space. Here is how to create it:
- 1. Create or upload a gradient background. You can create a gradient directly in Canva using shapes and color fills, or upload a gradient image you have prepared. In the video, we recreated OpenAI's signature gradients (blues, purples, and greens) and uploaded them as image assets. Rotate the gradient to 90 degrees for a vertical sweep if needed, then resize to fill the entire canvas.
- 2. Add the quote text. Copy and paste your quote into a text box. Use the same font and weight as your photo-based cards (Open Sans Semi-Bold in our case). Since the background is likely dark, use white text for contrast.
- 3. Add speaker attribution. Duplicate the text box and create a smaller one below the quote for the speaker's name and title, for example, "Sam Altman, CEO of OpenAI." Set this text to a lighter weight (Regular) and smaller size (around 35pt) to create visual hierarchy. The quote should be the dominant element; the attribution should be clearly secondary.
- 4. Align everything. Make sure the quote text and attribution are aligned to the same side (left-aligned is clean and professional). Leave generous margins on all sides - do not push text to the edges of the canvas.
Creating Multiple Variations
Do not make all your quote cards look identical. Rotating between different design styles keeps your feed visually interesting and prevents "content fatigue" where followers start scrolling past repetitive-looking posts.
In the video, we created six image quotes from the OpenAI keynote using a mix of approaches:
- Cards with Sam Altman's photo positioned on one side with the quote on the other
- Cards with branded gradient backgrounds and white quote text
- Cards with decorative quotation marks as a design element alongside the text
- Cards that split key phrases onto separate lines for visual emphasis (e.g., putting "play with" and "build with" on separate lines to highlight the contrast)
Aim for 2-3 distinct template styles, then rotate your quotes across them. If you are creating 5-6 image quotes, use each style at least once but vary the distribution to keep things fresh.
Design Tips for Maximum Impact
- Keep quotes to 1-2 sentences -quote cards are not blog posts. If a quote is longer than two sentences, trim it down to the single most powerful line. The most shareable cards communicate one clear idea.
- Use high-contrast text -white text on dark backgrounds, dark text on light backgrounds. Never place text over busy images or multi-color areas where readability suffers.
- Leave breathing room -generous margins and padding make the design feel professional. Do not fill every pixel of the canvas.
- Match the speaker's brand -use their company colors, their brand font, their visual style. This adds authenticity and makes the card feel like an official asset rather than a fan creation.
- Use the brand font -look up what font the company uses (Open Sans for OpenAI, for example). Canva has thousands of fonts available on the free tier. Matching the brand typography makes your cards look polished and intentional.
- Duplicate and iterate quickly -in Canva, hold Option (Mac) or Alt (Windows) and drag a text box to duplicate it. This lets you reuse the same formatting across multiple cards without reconfiguring fonts and sizes each time.
Phase 4: Export and Download
Once all your quote cards are designed, exporting from Canva is straightforward:
- 1. Click "Share" in the top-right corner of the Canva editor.
- 2. Select "Download" from the dropdown menu.
- 3. Choose PNG format -PNG preserves text sharpness far better than JPEG, which matters when someone is reading your quote on a phone screen. PNG also handles gradients and solid colors without compression artifacts.
- 4. Download all pages -if you designed multiple cards in a single Canva project (which we recommend for efficiency), you can download them all at once.
You now have a set of professional image quote cards ready to post on social media.
Posting Your Image Quotes
With your cards exported, here are the best practices for posting them across platforms:
- LinkedIn -post as a native image upload (not a link). Add 2-3 sentences of context or commentary above the image that expands on the quote or shares your own take. Tag the speaker if they have a LinkedIn profile. Include 3-5 relevant hashtags. Best posting times: Tuesday through Thursday, 8-10am.
- Instagram -post as a feed image or create a carousel with multiple quotes in a single post. Write a caption that provides context about the webinar and why this quote matters. Use 5-10 relevant hashtags.
- Twitter/X -attach the image to a tweet. Keep tweet text short and let the image do the talking. Tag the speaker if they have an account.
- Facebook -post as a native image on your company page or in relevant groups. Ask a question related to the quote to drive comments and engagement.
Space your posts out over 2-4 weeks. Posting all your quote cards on the same day overwhelms your audience and wastes your content. A cadence of 2-3 quote cards per week gives you sustained visibility from a single webinar.
How Many Quotes Can You Get Per Webinar?
Using this workflow, you can expect the AI to identify 10-15 candidate quotes from a typical 45-60 minute webinar. After ranking, you will typically design 5-6 top-tier image cards, the ones with the highest shareability potential.
Panel discussions with three or more speakers tend to produce even more quotable material, since each panelist brings a different perspective and communication style.
At a posting cadence of 2-3 cards per week, a single webinar gives you 2-3 weeks of social media content from image quotes alone. Combine that with video clips, blog posts, social posts, and other repurposed formats, and one webinar becomes a content engine that fuels your social presence for a month or more.
Full Workflow Summary
Here is the complete process at a glance:
- Phase 1 - Transcribe: Upload your webinar MP4 to AssemblyAI (or Rev.com / Transcript.lol). Configure settings with the Universal model, disable filler words, and click Transcribe. Download the result as a .txt file.
- Phase 2 - Extract quotes: Upload the .txt file to Claude, ChatGPT, or Gemini. Use a prompt that defines your target audience and asks for 10-15 shareable quotes ranked by social media potential. Select your top 5.
- Phase 3 - Design in Canva: Create a LinkedIn Post (1080x1080px). Design 2-3 template styles: photo-based cards with speaker images, gradient-based cards with bold typography, and variations with decorative elements like quotation marks. Use the speaker's brand font and colors.
- Phase 4 - Export: Click Share > Download > PNG in Canva. Download all cards and schedule them across 2-4 weeks of social media posts.
The entire process, from raw webinar recording to finished image quotes ready for LinkedIn, takes roughly 30-45 minutes once you are familiar with the workflow. The transcription step runs in the background, the AI extraction takes under a minute, and the Canva design work is the bulk of the hands-on time.
This manual process works well and produces great results. However, if you are running webinars regularly, weekly or even monthly, the time investment adds up. Transcribing, prompting AI, designing cards, and exporting files across multiple webinars can easily consume a full afternoon each week. For teams that need to scale their content production, automating this workflow can free up hours while maintaining the same quality and brand consistency.