Best Audio Enhancement Tools for Webinars 2026
Best audio enhancement tools for webinars 2026 - Discover the best audio enhancement tools for webinars 2026. Our guide reviews top software for real-time and

Poor audio kills replay performance before content repurposing even starts. In the UK, poor audio causes a 52% drop-off in webinar replays, according to the referenced webinar data in this UK webinar audio report. This demonstrates why the best audio enhancement tools for webinars 2026 matter. A strong insight with muddy sound won’t hold attention on LinkedIn, in a podcast cut, or inside an audiogram.
Webinar audio is often more difficult than expected. You’re dealing with laptop mics, guest headsets, platform compression, room echo, uneven speaker volume, and cross-talk. One speaker sounds sharp. The next sounds distant. Then the Q&A comes in from a tiled kitchen.
The fix is simple in principle. Clean audio first. Repurpose second. Teams that skip that order usually waste time making clips nobody wants to finish.
For busy webinar producers, the practical split is this. Use a real-time tool to stop damage during the live session. Use a post-production tool to repair, level, and polish the recording after. If background noise is the problem you’re battling most, this guide on practical AI tips for background noise removal is also worth keeping open.
1. Krisp

Krisp is the clearest real-time pick for webinar teams that need to stop audio problems before they hit the recording. It runs between the microphone, speakers, and webinar platform, which means Zoom, Teams, or Meet receives a cleaner signal from the start.
Live webinar damage is expensive because you only get one first capture. If echo, keyboard noise, or background speech gets into the session, that mess follows the replay, the transcript, the clips, and every asset you cut from it later. For teams using a repurposing workflow, audio cleanup starts here, not in the editor.
Where Krisp works best
Krisp is strongest when the room is working against the speaker. Home offices. Shared spaces. Glass-walled meeting rooms. Guest presenters on weak USB headsets. It is also useful when audience participation matters, since it can reduce noise on both sides of the call.
I recommend Krisp as the live layer in a two-step workflow. Use it to protect the webinar as it happens. Then run the recording through a post-production tool if you still need levelling, filler-word cleanup, or deeper repair before pushing clips into a wider content stack. That pairing is especially useful for teams already refining recording and editing processes with AI video editing tools for marketers.
Clean live audio also makes the next step easier if your team needs how to transcribe video automatically. Better source audio usually means fewer transcript errors and less manual cleanup.
Practical rule: Use Krisp for every live webinar hosted outside a treated room.
Trade-offs
Krisp is easy to deploy, but it still uses system resources. Older laptops can struggle once you add screen sharing, browser tabs, webinar software, and local recording. Some teams also end up paying for meeting features they will never use.
Krisp improves live capture. It does not replace post-production repair. It will not rescue clipped audio, rebalance badly mismatched speakers, or fix a recording workflow that was poorly set up in the first place.
2. NVIDIA Broadcast

NVIDIA Broadcast is the obvious pick if the host is on Windows and already has an NVIDIA RTX GPU. It’s free to download, and its audio cleanup is strong enough for many webinar producers to avoid a separate live denoise app.
The appeal is speed. Install it. Select the virtual mic. Turn on noise removal and room echo removal. Join the webinar. For internal teams that run frequent demos, partner sessions, or customer webinars from home setups, that low-friction path is useful.
Best use case
NVIDIA Broadcast is a host-side tool. It’s best when one main presenter needs clean sound from an imperfect room. It also helps if that same presenter wants camera framing and virtual background controls in one place.
This is a practical fit for teams already modernising editing and recording stacks with AI video editing tools for marketers. It reduces the number of moving parts before the webinar even starts.
What to watch
The hardware requirement is the whole story here. No RTX GPU, no Broadcast. No Windows machine, no Broadcast. That rules it out for many distributed webinar teams.
There’s also less flexibility than a full post-production chain. It improves capture. It doesn’t give the editor much control later. If the guest track is weak, volume varies wildly, or the webinar platform compresses the recording hard, Broadcast won’t clean all of that after the fact.
It’s a strong frontline tool. It’s not a full repair bench.
3. Adobe Podcast Enhance Speech

Adobe Podcast is one of the quickest ways to improve a recorded webinar. Upload the file, run Enhance Speech, and export a cleaner version in minutes. For B2B marketing teams producing multiple webinars each month, that speed matters because post-production often starts with triage, not fine audio work.
This tool sits firmly in the post-production camp. It does not help the live event. It helps after the webinar is over, when the recording needs to be cleaned before clipping, captioning, and distribution. That matters if the session will feed a wider repurposing workflow in a tool like RepurposeYourContent. Bad source audio carries through every downstream asset.
What Adobe gets right
Adobe works best on spoken-word webinar recordings with common problems. Light background noise. Mild room echo. Thin laptop mic tone. Uneven clarity between host setups.
It is a strong fit when the team wants a fast first pass before editing. I would use it on replay files, short social clips, and quote-led highlights where clear speech matters more than preserving every bit of vocal texture.
The workflow is simple. Clean the master audio first. Then cut the replay, generate clips, add captions, and push the finished assets into your repurposing stack. That order reduces friction later because every derivative asset starts from cleaner dialogue.
What to watch
Adobe can smooth voices too aggressively. If the original recording is already decent, the processed version can sound less natural than the source. That trade-off is usually fine for webinar clips and replay pages. It is less suitable for high-touch edits where the voice needs to stay close to the original recording.
It also is not a repair suite. It will not give you detailed control over speaker balancing, plosive repair, hard clipping, or complex multi-track cleanup. Use it when speed and simplicity are the priority. Choose a deeper post-production tool if the recording has serious damage or the edit needs precision.
4. Descript Studio Sound

Descript is for teams that want cleanup and editing in the same place. Studio Sound handles denoise and speech enhancement, while the transcript-based editor makes it easy to cut filler, tighten intros, and prep short clips.
That combination is useful in webinar production because audio problems rarely show up alone. Usually the file also needs trimming, title card cleanup, transcript correction, captions, and clip extraction. Descript handles that wider job better than a single-purpose enhancer.
Where Descript fits
Descript works well for recorded webinars that are headed straight into content production. If the editor needs to cut the full replay, create soundbites, export captions, and remove obvious verbal clutter, it shortens the workflow.
It’s also a safer choice than one-click enhancement tools when the team wants some editorial control. Studio Sound can improve clarity, but its primary value is staying in one environment while shaping the output.
Honest trade-offs
Studio Sound can sound too processed if pushed hard. That’s the most common problem. The other is workflow sprawl. Descript is broad enough that some marketers end up using only a fraction of it.
Use it when the webinar recording still needs editing decisions. Skip it if the only task is quick bulk cleanup before passing the file to another production tool.
5. Auphonic

Auphonic is the post-production tool I reach for when a webinar recording is usable but uneven. Its job is not rescue. Its job is finish.
For B2B marketers, that matters more than it sounds. If speaker levels jump around, every downstream asset suffers. The replay feels amateur. Social clips need extra fixes. Podcast exports sound inconsistent. Transcript accuracy drops. Audio cleanup should happen before the team starts editing webinar recordings for marketing or pushing the file into a repurposing workflow.
Where Auphonic fits
Auphonic belongs on the post-production side of the stack. Use Krisp or NVIDIA Broadcast to improve the live capture. Use Auphonic after the event to normalize loudness, smooth out level differences between speakers, and get the final file into a more publishable state.
It is especially useful for webinar teams running a repeatable workflow. One host records from a treated office. A guest joins from a laptop mic. Another speaker comes in too hot. Auphonic can pull those recordings closer together without asking someone to hand-mix every section.
What it does well
Consistency is the main benefit.
Auphonic handles loudness normalization, leveling, filtering, and final output prep well enough for routine webinar publishing. That makes it a practical middle layer between raw recording and repurposing. If the plan is to turn one webinar into a replay, short clips, a podcast cut, and captioned social assets, this kind of cleanup pays off across every format.
Where it falls short
Auphonic does not help during the live session. It also does not give detailed repair control. If a key sentence has a cough, a notification ping, or a sharp chair squeak under it, you will hit its limits quickly.
That is the trade-off. Auphonic is fast and reliable for broad finishing. It is not the right tool for surgical repair or aggressive enhancement.
Good webinar audio needs two jobs done well. First, remove distractions. Second, make every speaker feel equally audible.
6. iZotope RX 11

iZotope RX is the repair tool for ugly recordings. Not average ones. Ugly ones. Distortion. Clipping. Mouth clicks. Background interruptions. Harsh echo. Mechanical hum. That’s where RX earns its place.
It’s the least “marketing team friendly” tool on this list, but also the most capable when the recording matters enough to save properly.
Where RX wins
RX is for edge cases and flagship assets. If the webinar will become a gated replay, a podcast episode, paid campaign creative, or a high-value sales follow-up asset, RX can justify the extra work.
The spectral repair view is what makes it different. Editors can isolate a specific problem and attack it directly instead of applying broad enhancement across the whole file. For teams trying to edit webinar recordings for marketing, that control can save a recording that simpler tools would flatten.
Why many teams won’t use it daily
RX has a learning curve. That’s the trade. It asks for intent, not just clicks. If the team wants one-button cleanup, Adobe and Auphonic will be easier.
RX also tends to be overkill for routine webinar work. Most weekly demand gen webinars don’t need forensic audio repair. Save RX for the recordings that matter most or the ones that went wrong.
7. Cleanvoice AI

Cleanvoice AI is best when the webinar is spoken-word heavy and the team wants speed. It cleans dialogue, removes filler words, reduces mouth sounds, shortens silences, and smooths basic noise issues.
That makes it useful for founder webinars, expert interviews, fireside chats, and solo session replays that need to feel tighter before they’re cut into snippets.
Best fit
Cleanvoice suits teams producing a lot of speech-led content from webinars. If the same recording is going to become a replay, a podcast cut, and several spoken clips, the automated cleanup can save time.
It’s also a practical option for operations-minded teams because it offers API access and batch-style workflows. That matters when webinar output is high and manual editing becomes the bottleneck.
Limits to expect
This isn’t the tool for full creative control. It also isn’t ideal when the webinar includes music beds, heavy mixing, or delicate edit decisions around speaker style. Aggressive filler removal can make some conversations feel over-trimmed.
Use Cleanvoice when the content needs to sound cleaner and tighter fast. Don’t use it when the piece needs nuanced editorial judgement.
8. Riverside Magic Audio

Riverside makes sense for teams already recording webinars or webinar-style interviews on its platform. Magic Audio is built into that workflow, which removes one common problem. Too many handoffs.
When recording, enhancement, text editing, and clip generation happen in one environment, the production chain gets shorter. That matters when the same team is running the webinar and repurposing it.
Why it’s useful
Riverside is strongest when the recording source is already Riverside. Multi-track capture plus one-click polish is a clean setup for recurring webinar series, customer interviews, and panel sessions.
The workflow is simple:
- Step 1: Record each speaker on separate tracks in Riverside.
- Step 2: Apply Magic Audio to improve the overall spoken mix.
- Step 3: Export the cleaned file for downstream repurposing.
Where it loses ground
Magic Audio is convenient, but convenience isn’t the same as deep control. If the file needs surgical fixes, RX still wins. If the source wasn’t recorded in Riverside, the value drops.
This is a platform-first choice. Good for teams already committed to Riverside. Less compelling as a standalone audio strategy.
9. VEED Clean Audio

VEED is built for speed, not perfection. That’s not a criticism. It’s the reason some content teams keep using it.
If the team is already trimming webinar videos in a browser, adding captions, and exporting social snippets, VEED’s Clean Audio feature is convenient. It removes basic noise without forcing the editor into a more specialised stack.
When VEED is enough
VEED is enough when the source audio is mostly fine and only needs light cleanup. A bit of hiss. Minor background rumble. Slight roughness in a short clip. That’s the use case.
It also helps teams producing fast-turnaround snippets from webinar recordings, especially when the next step is to convert webinar moments into audio clips.
When it isn’t
VEED won’t give the same depth as RX, the same levelling consistency as Auphonic, or the same live capture protection as Krisp. It’s a browser editor with useful audio cleanup attached.
If a clip will live or die on one quote, check the audio before checking the hook.
10. Dolby.io Media Enhance

Dolby.io is the engineering-led option. It’s not for a solo marketer cleaning one webinar manually. It’s for teams processing webinar libraries at scale through an API.
That distinction matters. Some B2B companies run large event programmes, partner series, customer education webinars, and sales enablement sessions every month. At that volume, “open app, upload file, export result” doesn’t hold up.
Best for automated pipelines
Dolby.io fits workflows where media enhancement needs to happen in the background. Upload recording. Trigger enhancement. Route clean output into the next system. Store versions automatically.
That’s useful if the organisation has already operationalised post-event content production and wants consistent cleanup before clips, transcripts, or blog workflows start.
The trade-off
This is not plug-and-play. It needs technical integration, cost modelling, and process ownership. Marketing teams without developer support will usually move faster with Adobe, Auphonic, or Descript.
Still, for high-volume webinar operations, API-driven audio enhancement is the cleanest long-term answer. It removes manual repeat work from the chain.
2026 Comparison: Top 10 Webinar Audio Enhancement Tools
| Tool | Primary use & target audience | Core features | Strengths (UX / quality) | Limitations & price/requirements |
|---|---|---|---|---|
| Krisp | Real-time noise/echo removal for live webinars; hosts & attendees | Bi-directional noise cancellation, echo removal, system-wide on macOS/Windows | Noticeably improves intelligibility; simple on/off setup | Freemium; CPU/GPU usage may impact older laptops |
| NVIDIA Broadcast | Live cleanup + camera/background effects for RTX PCs; solo hosts/streamers | Mic noise & echo removal, speaker denoise, auto-frame, virtual backgrounds | Low-latency, high-quality real-time results; free (hardware req) | Windows + NVIDIA RTX GPU required; features can change by version |
| Adobe Podcast (Enhance Speech) | Browser-based post-cleanup for webinar replays, audiograms, podcasts | Enhance Speech (adjustable), bulk uploads, remote recording + basic editor | Fast, consistent cleanup in browser; no DAW needed | Free plan caps (time/limits); occasional service hiccups |
| Descript (Studio Sound) | All-in-one editing + cleanup for clip & podcast production; content teams | One-click Studio Sound, text-based editing, multitrack, captions/transcripts | Speeds cleanup + editing workflow; great for repurposing clips | Can sound over-processed at high settings; plan quotas apply |
| Auphonic | Batch post-production and loudness finishing for replays/podcasts | Intelligent leveler, loudness normalization (EBU R128), noise/reverb reduction, integrations | Consistent, broadcast-ready output; automates routine finishing | Post-processing only; minimum charge per job affects very short files |
| iZotope RX 11 | Surgical repair for problematic recordings; audio pros/engineers | Dialogue Isolate, Voice De-noise, De-reverb, Spectral Repair, stems/batch | Exceptional cleanup for tough artifacts; deep control | Steeper learning curve; higher cost (Advanced edition pricier) |
| Cleanvoice AI | Fast speech-focused cleanup & API automation; scaling teams/Agencies | Noise/reverb reduction, filler/mouth-sound removal, silence trimming, API/SDK | Quick, speech-specific results; clear usage pricing and API support | Less manual control than DAW tools; best for clear dialogue/monologues |
| Riverside (Magic Audio) | Integrated capture + one-click enhancement for recorded webinars | Magic Audio enhancement (mix control), high-bitrate multitrack, Magic Clips | Reduces handoffs (capture + cleanup); good default results | Feature tied to paid tiers; not as flexible for surgical fixes |
| VEED (Clean Audio) | Browser editor for quick edits + audio cleanup; non-engineer creators | One-click Clean Audio, basic EQ/levels, subtitles/captions, brand kit | Fast and accessible; convenient when editing video & social assets | Lower control vs professional tools; quality/features vary by plan |
| Dolby.io Media Enhance (API) | Developer-first batch enhancement for large libraries/pipelines | Batch noise reduction, leveling, async jobs, storage/CDN integrations | Scales to large volumes; consistent programmatic output | Requires developer integration; usage-based pricing must be modelled |
How clean audio helps downstream content
Audio cleanup is not the final step. It’s the gatekeeper step. Once the spoken track is clear, the rest of the repurposing process starts working properly.
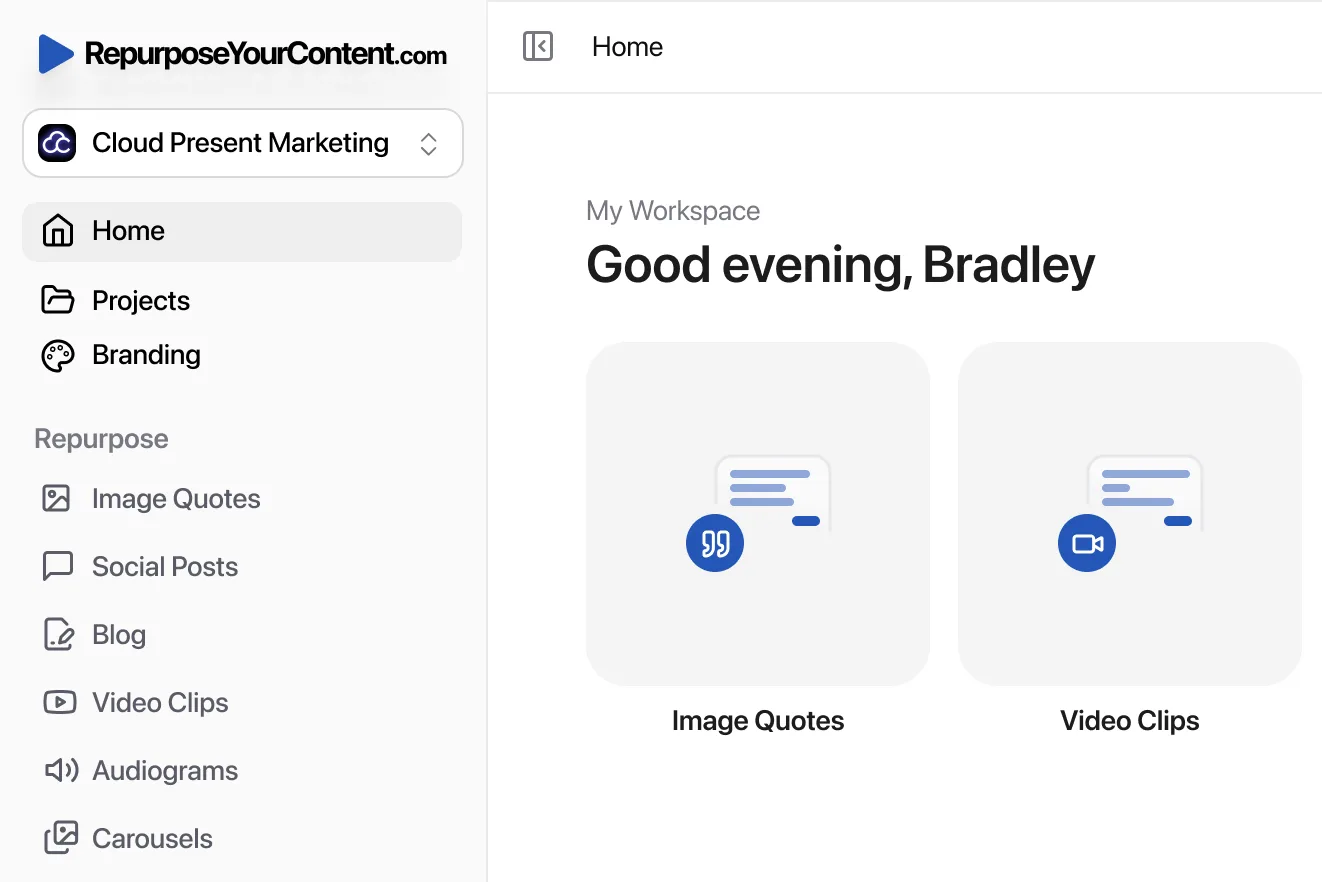
That’s where RepurposeYourContent fits. It sits downstream from cleanup, not instead of it. After the webinar audio is cleaned, the platform can turn that recording into audiograms for webinar highlights and video clips for social distribution, along with blog posts, social posts, image quotes, newsletters, LinkedIn carousels, and timestamped content assets.
A practical workflow that works
For most B2B webinar teams, the cleanest recipe looks like this:
- Step 1: Use Krisp or NVIDIA Broadcast before the webinar if the host environment is risky.
- Step 2: Run the recording through Adobe Podcast, Auphonic, Descript, or RX depending on how damaged it is.
- Step 3: Export the cleaned webinar file.
- Step 4: Upload it to RepurposeYourContent.
- Step 5: Generate clips, audiograms, blog drafts, social posts, image quotes, newsletters, LinkedIn carousels, and timestamps from the cleaned source.
This order matters because every asset inherits the audio quality of the source. If the source sounds hollow, compressed, or noisy, the audiogram sounds cheap and the clip feels amateur. If the source sounds clear, the same quote lands harder.
Before and after expectations
Good tools improve clarity. They don’t perform miracles. A cleaned webinar should sound more intelligible, more even, and less distracting. It should not sound like it was recorded in Abbey Road if it came from a weak laptop mic in a glass conference room.
The easiest way to judge success is with a before-and-after spot check on three moments:
- Speaker handoff: Does the second speaker feel much quieter or harsher than the first?
- Quiet pause: Can background hum, fan noise, or room wash still be heard?
- Quote-ready highlight: Does a short clip sound clean enough to stand alone on LinkedIn?
If those three moments work, the repurposed content usually performs better.
Final Thoughts
One weak recording can drag down every asset that comes after it.
That is why the tool choice is really a workflow choice. Real-time tools such as Krisp and NVIDIA Broadcast reduce risk before the webinar starts. Post-production tools such as Adobe Podcast, Descript, Auphonic, RX, Cleanvoice, Riverside, VEED, and Dolby.io improve the file you already captured. For a busy B2B marketing team, the practical setup is usually one tool from each category.
Pick based on failure mode, not feature count. Use real-time protection when hosts work from untreated rooms, open offices, or home setups you cannot control. Use post-production cleanup when the recording needs leveling, noise reduction, filler-word removal, or speaker balancing before it gets clipped, transcribed, and distributed. If the webinar is high-value, a quick cleanup pass is cheaper than publishing weak derivative content for weeks.
Audio quality affects more than the webinar itself. It shapes the clips your team posts on LinkedIn, the audiograms sent to email subscribers, the transcript quality behind blog drafts, and the podcast feed if you publish one. A noisy source creates more editing friction and weaker short-form content. A clean source gives every downstream asset a better starting point.
The practical standard is simple. Protect the live recording. Clean the final file. Repurpose only after that.
RepurposeYourContent works better with a cleaned source because its outputs inherit the clarity, pacing, and intelligibility of the webinar you upload. If your team wants more usable assets from each event, start with audio cleanup, then send the improved file into RepurposeYourContent.
Tags: