How to Edit Webinar Recordings for Marketing (The Fast Way)
Learn how to edit webinar recordings for marketing. Turn one raw recording into a month of content by trimming, branding, and repurposing it for maximum ROI.

Over 80% of your webinar's marketing value is lost the moment the live session ends. That raw recording on your server is a huge missed opportunity. To properly edit webinar recordings for marketing, you need to stop thinking about cleaning up one long video. You are extracting multiple marketing assets from a single source.
This guide shows you the exact workflow. It's designed for busy B2B marketers who are short on time.
Why Your Raw Webinar Recording is a Content Goldmine

You just finished a great webinar. What happens next? Most teams upload the full, unedited recording. This is a major mistake.
Your single video file is packed with marketing material. It has powerful speaker quotes. It has insightful customer questions from the Q&A. Each one is a potential marketing asset.
The Hidden Cost of Doing Nothing
You spend days trimming clips. You spend hours transcribing key insights. All while your demand gen team needs fresh content. The bottleneck isn't the webinar itself. It's the manual editing workflow. This pain is why many marketing teams fail to get ROI from their webinars. The process is just too slow.
Let's compare the manual editing process with an automated one.
Manual Editing vs. Automated Repurposing
| Metric | Manual Editing Workflow | Automated with RepurposeYourContent |
|---|---|---|
| Time to First Asset | 3-5 days. Includes file prep, transcription, highlight selection, and initial clip editing. | Under 1 hour. AI identifies key moments, generates a transcript, and creates draft clips automatically. |
| Total Assets Produced | 5-10 assets. Typically one full replay, a few short clips, and maybe a blog summary. | 47+ assets. Includes clips, audiograms, quote cards, a full blog post, and social copy for multiple platforms. |
| Human Effort | 15-20+ hours. Involves multiple team members: a video editor, a copywriter, a social media manager. | 1-2 hours. A single person can review, refine, and schedule all the AI-generated content. |
| Cost | High. Can run into thousands of pounds for freelancers, agency fees, and internal staff time. | Low. A fixed, predictable subscription fee. It is a fraction of the cost of a single freelancer. |
| Consistency | Inconsistent. Output depends on available time and resources. This often leads to a backlog of unused recordings. | Consistent. A repeatable system ensures every webinar is repurposed. This creates a steady flow of content. |
The difference is not marginal. It's a complete transformation of your workflow and marketing ROI.
Change Your Viewpoint, Change Your Output
See the recording as a source of raw materials. Your goal is not just a polished on-demand video. It is to generate an entire campaign's worth of content. This thinking solves two big problems.
- It creates better on-demand content. You still get a polished full recording for deep dives.
- It feeds your content engine. You also get a steady stream of clips, quotes, and written content.
Thinking in terms of assets moves you from reactive to proactive. You build a content library that works long after the live event. This is the foundation for a system that can turn one webinar into dozens of content pieces. For a deeper look, check our guide on how to maximise content from one webinar.
The Essential First Edit: Clean Up Your Raw Recording

Before you slice your webinar into clips, create a clean master file. This full-length recording is your foundation. It is the single source of truth for all marketing content to follow. This initial cleanup is non-negotiable. It separates a professional resource from an amateur recording.
Trim the Dead Air
Your raw recording likely starts with 5-10 minutes of waiting room music. Or "can you hear me?" checks. None of that belongs in the final version.
Use a video editor to make two cuts:
- Top: Cut everything before the presenter's official welcome. Your video should start the moment valuable content begins.
- Tail: Cut the awkward goodbyes and post-webinar chat. End the recording right after the final Q&A answer.
This simple act respects your viewer's time.
Remove Technical Glitches
No live event is perfect. Your recording probably has a few technical hiccups. An audio dropout. A frozen screen-share. A speaker who froze mid-sentence.
You must find and remove these moments. Leaving them in makes your brand look unprepared. Use your editor's "razor" tool to cut out problematic sections. Use a cross-dissolve transition to smooth over any jarring jumps.
The rule is simple: if a section provides no value, it must go. A polished 55-minute webinar is more valuable than a clunky 60-minute one.
Improve the Audio Quality
Poor audio is the number one reason people abandon videos. Viewers forgive grainy video. They will not tolerate bad sound. Your first edit must focus on audio quality.
Basic video editors have simple audio tools. Focus on these three areas:
- Level Your Volumes: Your host and guest likely have different volume levels. Use a "normalize audio" function to bring everything to a consistent level.
- Reduce Background Noise: An air conditioner hum? A dog barking? Use noise reduction filters to clean the audio. Even a slight reduction makes a big difference.
- Fix Mic Issues: If one speaker's mic was too quiet, you can boost their audio track. You can also apply filters to improve clarity.
Fixing the audio is a critical step in learning how to edit webinar recordings for marketing. It directly impacts your brand's perceived quality. A fast way to do this is by editing the transcript. Some tools let you delete words, which automatically snips the corresponding video and audio. Learn more about how to transcribe video automatically in our guide.
Once you have this clean master file, you are ready for the strategic phase.
Extracting Marketing Assets: From One Video to Many

Getting a clean master video is a great first step. The real marketing happens when you mine that recording for specific moments. These moments become powerful, standalone assets. Stop thinking like a video editor. Start thinking like a content strategist. You are not just subtracting bad parts. You are multiplying your content. You will identify the most valuable 5-10 minute segments that can live on their own.
Step 1: Spot Your "Golden Nuggets"
Re-watch your polished master recording. Keep a document open. Jot down the timestamp for every high-value moment you find.
- Specific Customer Questions: A speaker directly answers a common pain point.
- Key Concept Explanations: An expert explains a tricky concept in 3 minutes.
- Powerful Speaker Insights: A sharp, counter-intuitive take or personal story.
- Data Points and Stats: A speaker shares a compelling statistic.
- Step-by-Step Instructions: A speaker walks through a short 'how-to' process.
Your job is not to create content from scratch. It's to efficiently find the value that already exists. This shift in thinking is the core of the entire process. A huge part of this is turning what was said into written content. Getting a handle on converting recorded content into blog posts is a good place to start.
Step 2: Extract and Brand Your Clips
Once you have identified 5-10 nuggets, turn them into professional videos. Each clip needs to feel intentional. It should not feel hacked out of a longer recording.
This involves a few key branding steps:
- Add a Branded Intro/Outro: A quick 3-second animated intro with your logo. End each clip with a branded screen and a clear call to action (CTA).
- Use Lower-Third Titles: Add a clean graphic at the bottom. It identifies the speaker and their company. This adds a professional, broadcast-quality feel.
A 3-minute clip with a branded intro, lower-thirds, and a CTA is a lead-generation tool. It is a self-contained piece of marketing that can work on any platform.
Step 3: Pivot to Full-Scale Repurposing
Instead of stopping at video clips, think bigger. Each "nugget" is a core idea. That core idea can be repackaged into many different formats. The goal is to move beyond just editing one long video. You are extracting an entire campaign's worth of assets from it. For a full breakdown, explore robust content repurposing strategies.
How RepurposeYourContent Helps
Manually finding these nuggets and editing each one is where teams get stuck. It is a time-consuming process. It requires multiple tools and video editing skill.
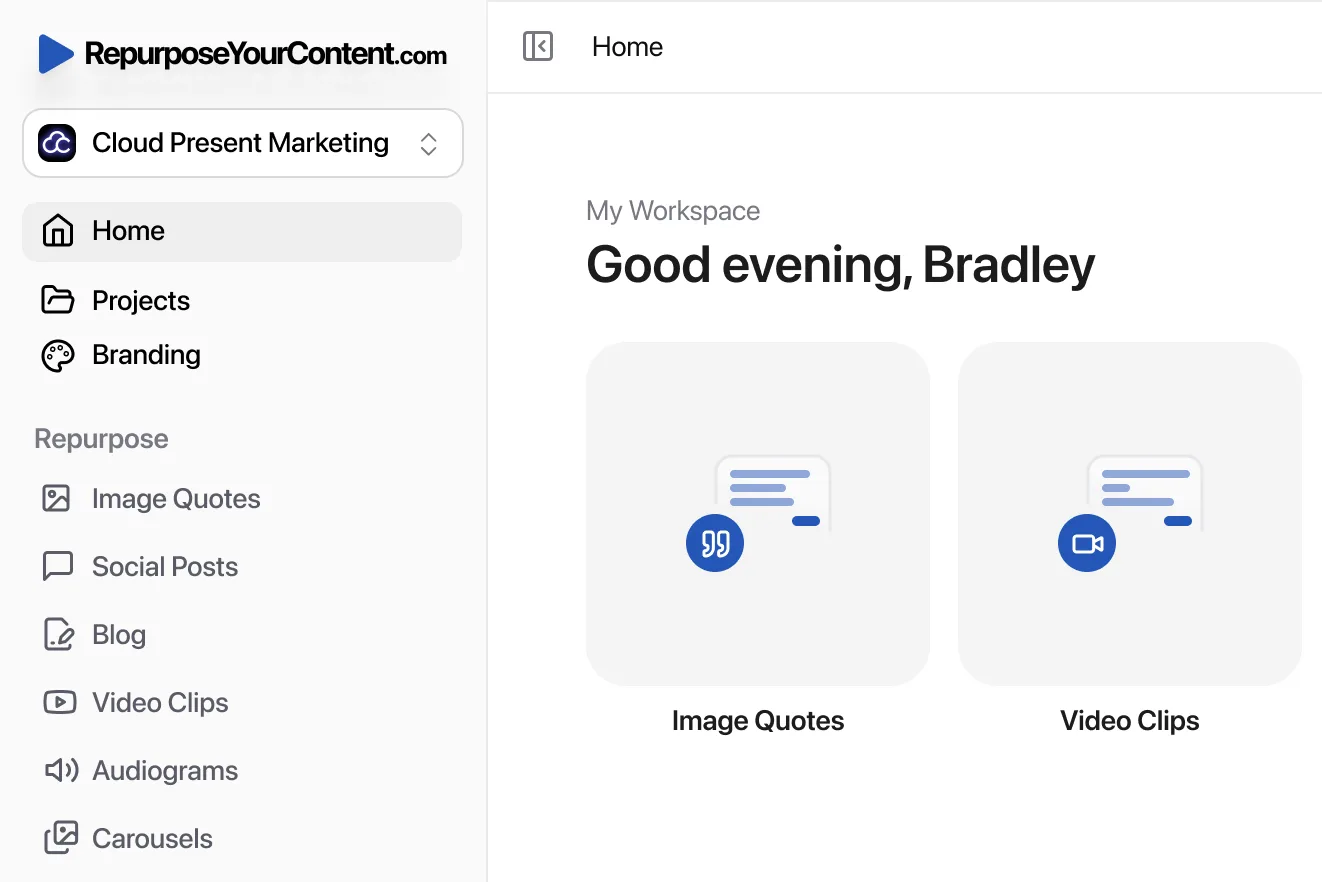
RepurposeYourContent automates this entire extraction and branding process. You just upload your clean master file.
- AI automatically finds the most compelling moments—your golden nuggets—by analyzing the transcript.
- It generates short video clips with your branded templates and animated captions.
- It creates other assets like blog posts, social posts, audiograms, image quotes, newsletters, and LinkedIn carousels.
Instead of you hunting for timestamps, the AI presents a menu of ready-to-use assets. This is the smart way to approach webinar editing. Let technology handle the manual labor so you can focus on strategy. You can find more information in our guide on the best webinar repurposing tools.
The goal is to make every second of your webinar work harder for you.
Real Workflow Example: 1 Webinar Into 47 Marketing Assets
Let's get practical. You just wrapped a 60-minute webinar. Let's turn that single recording into a multi-channel campaign. This is how you stop scrambling for content and build a real system.
Your Starting Point: A 60-Minute Raw Recording
You have a 60-minute Zoom file on your desktop. It has five minutes of pre-show chatter and a two-minute technical glitch. The goal is to turn this one file into 47 distinct marketing assets.
First, do the essential edit. Trim the beginning and end. Snip out the technical glitch. You now have a clean, polished 50-minute master recording. That's Asset #1.
Now, watch that master file back. You are hunting for golden nuggets of content. You spot five great clips:
- A 2-minute explanation of your "5-Touch Nurture Sequence."
- A 90-second answer to "How do you re-engage cold leads?"
- A 60-second clip on a common mistake in email personalization.
- A 3-minute segment on measuring nurture campaign ROI.
- A powerful 45-second quote from your guest speaker.
These five moments are your foundation.
The Breakdown: From 1 File to 47 Assets
With your core clips identified, you can now generate the other 46 assets:
Video & Audio Assets (9):
- 5 short-form video clips (45–180 seconds each) with branded intros/outros and captions.
- 1 highlight reel (around 3 minutes) combining the best moments into a trailer.
- 1 full-length, clean audio file for a standalone podcast episode.
- 2 audiograms using the most powerful audio snippets for social media.
Written Content (17):
- 1 SEO-optimised blog post (1,200 words) on the "5-Touch Nurture Sequence."
- 10 social media posts for LinkedIn, pulling direct quotes and stats.
- 1 three-part email nurture sequence for new leads.
- 3 standalone email newsletters, each focused on a different video clip.
Visual Assets (20):
- 1 LinkedIn carousel (10 slides) made from the speaker's presentation deck.
- 5 branded image quotes featuring memorable speaker statements.
- 14 screenshots or graphics from the presentation for your blog and social posts.
By following this content multiplication framework, one event becomes a cohesive campaign. Each asset reinforces the others. This drives traffic and generates leads long after the live event. You can check out our full guide to the framework here.
Putting It All on the Calendar
Now schedule these assets to get the most mileage. A single webinar can fill your content calendar for a month.
Here is what a 30-day schedule might look like.
| Week | Email Newsletter | Blog | YouTube | |
|---|---|---|---|---|
| Week 1 | Post Highlight Reel; Share Blog Post | Announce On-Demand Recording is Live | Publish 1,200-word SEO post | Publish Full 50-Min Recording |
| Week 2 | Post Video Clip 1; Share Quote Graphic 1 | Share Video Clip 1 with key takeaways | (Internal linking) | Publish Video Clip 1 as a Short |
| Week 3 | Post Video Clip 2; Share LinkedIn Carousel | Share Video Clip 2 with a new insight | (Internal linking) | Publish Video Clip 2 as a Short |
| Week 4 | Post Video Clip 3; Share Quote Graphic 2 | Share Highlight Reel to drive final views | (Internal linking) | Publish Highlight Reel |
See how it connects? Each piece builds momentum. It directs your audience back to your core assets.
This workflow is efficient. But doing it by hand would still take over 40 hours. With the right tools, you can get it done in under an hour.
The Smart Way: Automation with RepurposeYourContent
The manual workflow is a grind. It's why so many webinar recordings collect dust. Smart automation is essential for any time-poor B2B marketing team. The secret to how to edit webinar recordings for marketing is to swap that manual slog for intelligent automation.
From 90 Minutes of Drudgery to 5 Minutes of Strategy
The old way of finding moments, cutting clips, and writing copy takes 90 minutes per webinar. With RepurposeYourContent, that entire process takes about 5 minutes of your time.
You just upload your recording. The platform's AI gets to work.
- It automatically transcribes the whole session.
- It identifies the gold. The AI scans the transcript to pinpoint compelling insights, creating timestamps.
- It generates your content. It automatically drafts a suite of marketing assets for you.
This builds a repeatable system for your post-webinar content engine.
Turning One Upload Into Eight Content Formats
With RepurposeYourContent, you decide which assets you need. The platform builds them in minutes.
Just tick the boxes for the assets you need. The platform handles all creation and branding automatically. It is a one-click process. It removes the need for separate video editors, design tools, and copywriters.
This approach shifts your role from creator to curator. Your job is no longer manual labor. You simply review the AI-generated drafts, make a few tweaks, and publish. Learn how to automate your webinar repurposing and build a system that works.
According to ON24's research, edited webinar highlights deliver a CTA conversion rate of 22%. This can soar to 69% for engaging sessions. Yet many marketers leave this goldmine untapped because the workload is too much. You can read more in the 2025 Webinar Benchmarks Report on on24.com.
Stop letting your best content die. Try RepurposeYourContent and turn your last webinar into your next marketing campaign.
Tags: