Repurpose Instagram Live Videos: A Step-by-Step Guide
Learn how to repurpose Instagram Live videos before they're deleted. Turn one 45-minute recording into a week of content like Reels, quotes, and blog posts.

To repurpose Instagram Live videos effectively, the first move is simple. Download the replay immediately before Instagram deletes it from the archive, then turn that one recording into a week of content like Reels, quote graphics, a carousel recap, and a blog post.
Many creators get this wrong at the first step. They finish a strong Live, assume they'll clip it later, and then lose the raw recording because Instagram treats Live content as temporary by design. That's the mistake that turns a useful session into wasted effort.
A better habit is to treat every Live like a perishable asset. Save it first. Then build a repeatable workflow around it. That's how a 30 to 45-minute session stops being a one-time event and starts becoming a permanent content library.
Your Instagram Live Is a Ticking Time Bomb
You just finished an Instagram Live. The comments were active. The questions were good. You explained something clearly, and a few answers were strong enough to become standalone content.
Then the usual thing happens. The team gets busy. The clips don't get cut this week. Next week becomes next month.
Instagram Live replays don't sit there forever. If the replay isn't downloaded or shared in time, the footage disappears from the archive. That's the most expensive mistake in this whole process, because once the raw file is gone, the rest of the repurposing plan dies with it.

The wrong assumption
A lot of creators and brand social managers still treat Instagram Live like a one-off event. Go live. Get engagement. Move on.
That's backward.
The Live itself is only the recording session. The actual value comes after, when the best moments get turned into smaller assets people will watch in-feed, save, repost, and share across other channels. Teams already doing this with other formats can apply the same thinking to repurposing a live webinar recording, but Instagram Live adds one extra problem. The source material can vanish if nobody saves it.
Practical rule: If a Live isn't downloaded the same day, it shouldn't be treated as content inventory yet.
What professionals do differently
Professionals don't wait until they “have time” to repurpose. They build a post-Live habit.
That habit is boring, fast, and valuable. End the Live. Save the file. Back it up. Transcribe it. Mark the standout moments. Then turn it into assets that fit the platform they're going on.
This mindset changes everything. Instead of asking, “How did that Live perform?” the better question is, “How many assets did that Live produce?”
When a founder or social manager starts thinking that way, Instagram Live stops being disposable. It becomes raw material for Reels, quote graphics, carousel recaps, TikTok clips, Shorts, LinkedIn posts, and blog content.
Your First Move Save Your Live From Deletion
Saving the replay takes a few minutes. Skipping it can wipe out the whole opportunity.
Instagram allows completed Lives to be archived and reposted as standard feed videos or Reels. That matters because those recordings often hold the most useful moments. Product demos, direct answers, objections handled live, and unplanned opinions usually outperform polished corporate scripting. Sprout Social notes that 73% of B2B marketers identify recordings as their top source of quality leads, while only 1 in 3 teams have a scalable repurposing workflow in its Instagram content analysis.
A simple save routine fixes the first problem. Ownership of the raw file starts there.

The five-minute habit
Right after the broadcast ends, the person running the Live should do this before anything else:
End the Live and save the replay
Don't close the app and assume someone will grab it later.Share it to the Live Archive
This gives a short-term safety net inside Instagram.Go into Archive and download the video
Save the file to the device's camera roll or local storage.Verify the file opens properly
A failed download is common enough to check.Back it up to cloud storage
Google Drive, Dropbox, or the team's shared content folder all work.
For teams already handling recorded conversations from other channels, the same discipline used for Google Meet recording workflows applies here. Save first. Organize second. Edit later.
Save the Live before anyone starts discussing captions, thumbnails, or posting dates. Those choices don't matter if the source file disappears.
A quick walkthrough helps if the team needs a visual reference:
Why this step matters more than editing
Instagram is built for immediacy. That's great for real-time engagement. It's terrible for asset management.
Founders and social managers who treat the replay as something they own can turn one Live into a full backlog of usable content. Teams who don't save it are stuck recreating ideas they already recorded once.
The download step also creates options. The full replay can stay intact for a repost. Short sections can be clipped into Reels. Key spoken lines can become quote graphics. A Q&A answer can become a carousel or short article. None of that happens unless the raw recording gets pulled out of Instagram immediately.
A basic storage rule
Use one naming format every time.
A clean filename like 2026-07-15-instagram-live-product-demo.mp4 saves confusion later. Add the transcript, notes, captions, and final cut exports into the same folder. That one operational habit prevents the usual scramble when someone asks for “the clip from that Live about pricing.”
The Manual Workflow to Repurpose Instagram Live Videos
Many teams underestimate the work involved.
Repurposing one Live manually sounds simple until someone has to do it. A saved file still needs sorting, trimming, reframing, captioning, copywriting, and packaging for each channel. On a single 45-minute Live, that usually turns into most of a workday.
Step 1 starts with export and transcript
The raw file should first be exported in 1080x1920 vertical format. Then it needs a transcript and a rough review pass. That usually takes 1 to 2 hours once someone downloads the file, checks audio, and scans the conversation for usable moments.
The fastest way to find the top three moments is a simple rubric:
- Strongest audience question: the question that pulled the clearest answer
- Most quotable opinion: the line people would repost as a statement
- Most practical takeaway: the answer someone could apply right away
Comment spikes and repeated questions are the easiest signals. Live viewers already showed what held attention.
Step 2 is where the editing hours pile up
Clipping usually takes 2 to 3 hours per recording if it's done properly. The editor has to cut out greetings, dead air, circular answers, audience housekeeping, and the parts that only made sense live.
A YouTube workflow on repurposing social video notes that removing live-only elements can reduce viewer retention drops by 40% in non-live contexts, and that 80% of social video is watched without sound, which is why styled captions matter. It also notes that clips without embedded captions see a 60% higher drop-off rate within the first 3 seconds in that context, as shown in this video methodology reference.
Editing rule: A good Live replay is usually a bad Reel. The clip needs to be rebuilt for on-demand attention.
For teams clipping lots of recordings, this is the same production burden seen in turning long-form video into short clips. The difference is that Instagram Lives often include more filler at the start and more audience-dependent moments throughout.
Step 3 covers static assets and copy
Once the clips are done, static content still needs production.
That usually means 1 to 2 hours more for quote graphics and carousel design, plus about 1 hour for captions, post copy, and a short blog recap. If the Live covered multiple points, writing the carousel alone can take longer than expected because someone has to decide what to keep, what to cut, and how to make each slide readable.
A realistic DIY workflow looks like this:
| Task | Typical time |
|---|---|
| Download, organize, transcribe | 1 to 2 hours |
| Review and find top moments | 1 hour |
| Edit Reels clips and captions | 2 to 3 hours |
| Create quote graphics and carousel | 1 to 2 hours |
| Write social copy and blog recap | 1 hour |
That's roughly 8 hours of skilled work to do one Live properly.
What usually goes wrong
The failures are predictable:
- The file gets saved but never transcribed
- The team clips by timeline, not by strongest moment
- Captions are added with weak styling
- The same vertical export gets dumped everywhere
- No one writes platform-specific copy
That's why many Instagram Lives get “repurposed” into one lazy replay post and nothing else. The issue isn't a lack of content. The issue is production capacity.
A Proven System One Live One Week of Content
A saved Instagram Live should turn into a content batch within 24 hours, while the source is still easy to find, the context is fresh, and the team remembers what mattered. If that does not happen, the recording sits in a folder until the 30-day archive window gets ignored and the asset loses momentum.
A useful target is straightforward. One 30-minute Instagram Live becomes 3 Reels, 2 to 3 quote graphics, 1 carousel recap, and 1 short blog post. That is a week of distribution from one recording, and it is a practical output for a lean team.
Ecamm's Live video repurposing breakdown recommends pulling out the top 3 to 5 key takeaways and building a 5-for-1 framework around them. That structure works because it forces one decision early. The Live is no longer a replay. It is source material.

A repeatable workflow example
Use the same sequence every time. Consistency matters more than creativity at this stage because speed is what protects the asset from getting buried.
Step 1
Save the Live, rename the file clearly, and generate a transcript.
Step 2
Read the transcript once and mark the three strongest moments. Pick clips based on usefulness, tension, clarity, or a sharp opinion. Do not pick them by timestamp.
Step 3
Cut those moments into short vertical clips. Reframe for mobile, leave room for captions, and tighten the opening so each clip earns attention in the first second.
Step 4
Pull short lines from the transcript that still make sense without video. Those become quote graphics.
Step 5
Turn the main points into a carousel. Keep one idea per slide and make the sequence easy to skim.
Step 6
Write a short blog recap and channel-specific social copy.
This is the same logic behind turning one piece of content into many formats. Instagram Live just gives you a rougher source file, which is often more credible because it sounds like a real conversation instead of approved brand copy.
What each asset should look like
Reels clips
The best Reel is usually the strongest answer, objection, or opinion from the Live. It is rarely a random 30-second slice.
Use high-contrast burned-in captions in brand colors. Keep 3 to 5 words per line, highlight the key phrase, and put a clear hook on the first frame. That makes the clip easier to repost across channels without losing readability.
Each clip should stand on its own. A viewer should understand the point without watching the full Live.
Native stickers fit Stories better. Repostable clips need captioning that stays intact after export.
Quote graphics
Quote graphics work when the spoken line survives outside the video.
Strong picks usually fall into four categories:
- Clear opinions that take a position
- Simple advice people can save
- Audience questions paired with a concise answer
- Context-rich lines that still make sense in static form
Square format is usually the safest choice. If you include the speaker's face, crop tighter than you think and protect legibility on mobile first.
Carousel recap
Carousels work best when the Live taught something concrete or answered repeated questions.
Use the top 3 to 5 takeaways as the outline. Give each slide a short headline and one short explanation. End with a prompt that fits the goal, watch the replay, comment with a question, or share it with a teammate.
This format is strong for founder-led Lives because it turns spoken expertise into a clean teaching asset.
Distribution needs packaging, not copy-paste
One recording can feed several channels, but each channel needs a different presentation. Instagram may want a punchy hook and tighter crop. LinkedIn usually needs more context in the copy. A blog embed needs framing that makes a vertical video look intentional.
That is the trade-off. Reusing the same idea is efficient. Reusing the same asset file everywhere usually lowers performance.
Check every export before publishing. Captions that sit too low, awkward crops, and poor framing make good source material look cheap fast.
What not to do
Do not treat the full replay as the finished product.
Do not cut clips in chronological order just because it is faster.
Do not pull spoken lines into graphics without rewriting them for readability.
Do not publish the same visual package to Instagram, TikTok, Shorts, and LinkedIn as if they behave the same way. The source can stay the same. The packaging should not.
The 15-Minute Alternative to an 8-Hour Job
You finish an Instagram Live, close the app, and tell yourself the team will turn it into clips later. Then the week fills up. Two weeks pass. Then the replay is gone, and the cheapest source footage you had this month never became a reusable asset.
That is the comparison. Fifteen minutes to hand off the recording now, or hours of delayed editing work that often never gets finished before Instagram's archive window runs out.
DIY repurposing can work. It also needs someone to own the process from start to finish: download the Live, pick usable moments, clean up framing, correct captions, rewrite hooks, and package each asset for the channel it is going to. The trade-off is control versus staff time. If no one has clear ownership, the replay expires and the ROI disappears with it.
Quality matters too. Instagram will re-encode weak exports, and that shows up fast in soft text, muddy frames, and clips that look cheaper than the original recording. If the Live featured a founder, a customer, or a paid guest, bad post-production lowers the value of content you already spent time creating.
The done-for-you alternative
A faster model is simple. Send one recording. Get back a finished content pack.
That recording can be an Instagram Live, podcast, webinar, keynote, interview, sales call, or meeting recording. The delivery is 20 to 30 ready-to-publish assets in 72 hours. That includes video clips, LinkedIn posts, quote graphics, carousels, audiograms, and a blog post, all in the brand's voice, with unlimited revisions.
Client effort stays small. Upload the file. Share the brand kit. Review the draft package.
For teams weighing software against outsourcing, the question is not whether tools exist. The question is who is going to review outputs, fix weak clips, and finish the assets before the source file goes stale. Even the best AI video clipping tools for content teams still need human judgment and production time. A done-for-you service removes that workload.
Why the math works
The economics are straightforward:
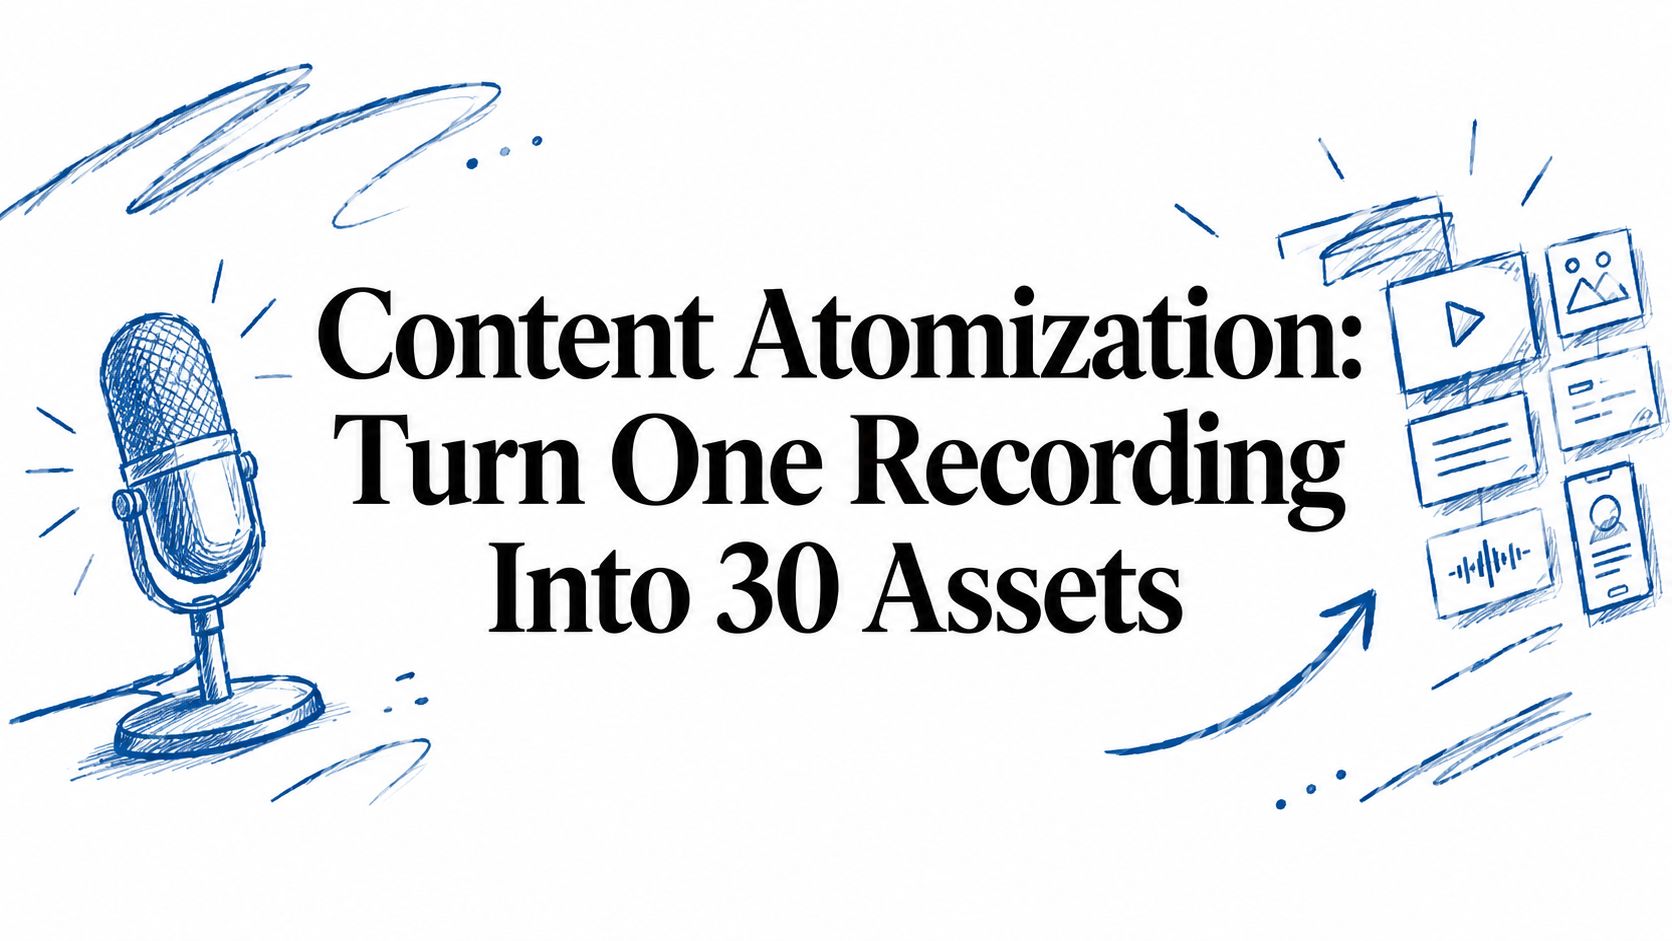
- One 45-minute recording becomes 30 assets
- Turnaround is 72 hours or you don't pay
- Pricing starts from $14 per finished asset
- The client's workload is about 15 minutes
This is outsourced execution, not another subscription your team has to operate.
If Instagram Live is already part of the content mix, the highest-ROI move is to save every replay immediately and put it into a repeatable repurposing system while the file still exists.
If there's a backlog of Instagram Lives, podcasts, interviews, or webinars sitting unused, book a call with RepurposeYourContent or request a sample pack. Send one recording. Get back 20 to 30 on-brand assets in 72 hours, with unlimited revisions and a 72-hour turnaround guarantee or you don't pay.
Tags: