How to Turn Twitch Streams Into Clips That Grow Your Channel
Learn the professional workflow to turn Twitch streams into clips for TikTok & YouTube. Go from a 4-hour VOD to 30+ assets that build your audience.

To turn Twitch streams into clips, creators need to save the VOD before it expires, use audience signals like chat spikes to find the moments that landed, and edit those moments into vertical videos with captions and a strong first-frame hook for TikTok and YouTube Shorts. Twitch can hold a live audience of about 3.59 million concurrent viewers, but that doesn't solve the main post-stream problem: the best moments are hard to recover unless someone marks and edits them on purpose.
The popular advice says clipping is optional. It isn't. For streamers, brands, and developers using Twitch, clipping is the distribution layer that makes the live stream useful after it ends.
A raw three-hour VOD is not content distribution. It's source material. The work starts after the stream stops.
Why Your Twitch Stream Isn't Your Growth Engine
The biggest mistake is treating Twitch as the place where growth happens. It's where the live show happens. Growth usually happens somewhere else.
Expert benchmarking says 90% of streamer audience growth now occurs on external vertical feeds like TikTok, Shorts, and Reels, which is why the vertical recut matters so much for scale, as noted in this clipping benchmark on external vertical feeds. That changes the job of a Twitch stream completely. The stream is no longer the final product. It's the recording session.
Twitch is a production studio, not a discovery engine
A live stream can build trust, community, and momentum. It can't do much if nobody finds it.
That's why the smartest streamers don't ask, “How do we go live more?” They ask, “What content will this stream produce?” A three-hour broadcast should create a week of short-form distribution, not a single archive page and a dead link.
Twitch is where people watch longer. TikTok and YouTube Shorts are where new people notice you.
There's another issue. Twitch VODs don't stay available forever. They expire after a window that varies by account level. That means the footage has a shelf life. If nobody exports it, the raw material disappears.
Native Twitch clips aren't enough
Twitch's built-in clip feature is useful for speed. It isn't a full growth system.
Native clips are short, reactive, and tied to the Twitch viewing experience. Properly edited clips are different. They're framed for mobile, built for silent viewing, captioned, branded, and structured to work for someone who has never seen the stream before.
That distinction matters more than most creators think. A clip that works on Twitch often won't work on Shorts or Reels without editing. The pacing is wrong. The crop is wrong. The context is missing.
For teams thinking about content more broadly, the better model looks a lot like native content versus repurposed content. The stream creates raw moments. The repurposed cut creates reach.
Find Clip-Worthy Moments Without Scrubbing for Hours
The slowest method is the one often employed. They finish a stream, open the VOD, and scrub through hours of footage cold.
That wastes time and misses good moments.
Twitch creates a lot of content. The platform has about 3.59 million concurrent viewers, yet its official API does not provide historical data for past streams, which means creators still need manual review or outside help to identify high-engagement moments, according to this overview of Twitch viewing and platform limits. In practice, that means no native highlight detector is waiting to save the day.

Use the audience as the highlight detector
The live audience already told the creator what mattered. Many just fail to capture the signal.
A practical workflow uses four markers:
Chat spikes
Fast chat usually means something landed. A big play, a joke, a hot take, a surprise, or a mistake.Clip commands or manual markers
If moderators or viewers regularly trigger clip commands, those timestamps deserve review first.Replay heatmaps
If the replay view clusters around a section, that section probably has standalone value.Transcript pass
This confirms whether the segment works without the full stream for context.
What to look for in a three-hour stream
Not every exciting live moment becomes a good short clip. A good clip has to survive outside Twitch.
The best candidates usually fit one of these shapes:
A big play with a visible payoff
The viewer can tell what happened fast.A hot take with a clean opening line
The clip starts with an opinion, not setup.A funny exchange
The joke lands even if someone never watched the channel before.A teachable moment
The streamer explains a tactic, lesson, or process in a self-contained way.
Practical rule: If a stranger needs two minutes of context, it's not a short-form clip yet.
A faster review workflow
Manual clipping still takes time, but there's a right way and a wrong way.
Wrong way: rewatch the full VOD from the start, pause constantly, and guess where the good parts are. That can take 2 to 3 hours per recording just to identify moments.
Better way: collect timestamps during the stream or right after it ends, while the memory is fresh. Then review only those marked windows and the surrounding minute on each side. That usually cuts the identification pass to under 30 minutes for a normal stream.
A simple process looks like this:
- During the stream: have a moderator or producer note timestamps when chat moves fast.
- Right after the stream: skim the list and delete weak moments.
- Then: run a transcript pass to confirm each segment stands alone.
- Last: shortlist only the moments that can survive as standalone content.
For teams comparing support options, this is also where most AI clipping workflows help. They can narrow the search. They rarely replace judgment.
The Manual Workflow to Turn Twitch Streams Into Clips
The manual route works. It just costs more time than most busy creators expect.
For a typical stream, a proper DIY workflow usually takes 4 to 6 hours to produce 8 to 12 quality clips. That's after the stream is already done.
A strong VOD-to-shorts workflow can convert a 2 to 4 hour stream archive into 20 to 40 short-form clips by downloading the VOD, splitting it into manageable sections, and validating each candidate so it's self-contained and under 90 seconds, according to this Twitch VOD-to-shorts workflow breakdown.
A quick visual makes the sequence easier to see.

Step 1, secure the footage first
If the VOD isn't saved, nothing else matters.
Creators should enable clips in the Creator Dashboard before relying on clip creation from past broadcasts. The setting sits under the Stream tab, as shown in this walkthrough for enabling Twitch clips.
A short explainer helps with the setup.
Then export the VOD. Don't assume it will sit there until someone gets around to editing. Twitch archives expire. Export first. Sort later.
Time cost: about 10 to 20 minutes of admin and file handling.
Step 2, decide between Twitch clips and proper edits
Twitch clips are fast. They're also limited.
The native clip feature has a minimum of 5 seconds and a maximum of 60 seconds, according to this tutorial on Twitch clip length limits. That's useful for grabbing a fast reaction. It's not enough for a polished content engine.
There is a keyboard shortcut too. Pressing Alt+X on Windows or Option+X on Mac opens the clip editor and pre-selects the last 30 seconds, as shown in this Twitch clipping guide.
A comparison helps:
| Method | Good for | Limits |
|---|---|---|
| Native Twitch clip | Fast capture during or right after stream | Hard limit on duration, weak branding control, poor fit for vertical feeds |
| Exported VOD edit | TikTok, Shorts, Reels, professional reuse | Takes more editing time and planning |
Step 3, cut for vertical, not for Twitch
Most clips fail at this stage.
A good vertical edit is not just a cropped horizontal stream. It needs a deliberate 9:16 layout. The crop should usually stay tight on the facecam and the key action. Busy HUD elements often make vertical clips harder to read, not better.
Use a clean branded frame. Add the streamer's name or handle. Use bold captions. Keep a small persistent watermark. Start with a text hook in the first frame.
For more on captioning, adding captions to video clips properly matters because many viewers won't hear the first line with sound on.
Time cost: usually 20 to 30 minutes per finished clip if done manually.
Step 4, write distribution-ready packaging
Editing the video is only half the work.
Each clip needs a caption written for the target platform. TikTok copy usually wants a stronger hook. YouTube Shorts often benefits from a cleaner title structure. Reels may need a different tone. If the clip points to a future live session, the caption should make that return path obvious.
Time cost: around 45 to 60 minutes for a batch of clips.
A realistic manual example
A three-hour stream can follow this sequence:
- Download the VOD before archive loss
- Review chat spikes and moderator timestamps
- Pull 10 to 15 candidate windows
- Trim to 8 to 12 usable moments
- Reformat each for vertical
- Add captions and branded frame
- Write platform-specific captions
- Schedule the week's publishing plan
That's why many creators eventually need a broader long-form to short clips workflow, not just a clip button.
A Smarter Clip Distribution Strategy
The worst publishing move is dumping every clip the day after the stream.
That creates a short burst, then silence. The channel goes inactive in feeds for the rest of the week. New viewers stop getting reminders that the creator exists.
Most tutorials stop at editing. They don't solve selection or release strategy. Yet this guide on identifying Twitch moments that actually work notes that an 8-hour stream contains 15 to 20 potential standalone moments, and the main problem is deciding which ones have the right hook shape for social distribution.

Don't dump. Drip.
A better system spreads clips between streams.
That keeps the creator visible in feeds and gives each clip room to do its job. Some entertain. Some teach. Some create curiosity. All of them should point back to the next live session.
A clip should earn attention on its own, then make the next stream feel worth showing up for.
A practical weekly schedule
A standard package from one long stream can support a full week of posting:
Vertical clips with captions
Post 8 to 12 clips across TikTok, Shorts, and Reels over several days.Quote or highlight graphics
Publish 2 to 3 graphics between video posts to vary the format.A recap post
Use one written post to summarize the stream, pull out key takeaways, or promote the next live event.
That's enough to post daily or every other day between streams without repeating the same asset format.
A simple calendar could look like this:
| Day | Format | Goal |
|---|---|---|
| Monday | Vertical clip | Best moment from the stream |
| Tuesday | Quote graphic | Reinforce a memorable line |
| Wednesday | Vertical clip | Educational or tactical moment |
| Thursday | Recap post | Bring context and next-stream CTA |
| Friday | Vertical clip | Funny exchange or reaction |
| Weekend | Remaining clips | Keep channel active before next live |
For teams building a wider publishing cadence, these ideas fit naturally into stronger content distribution strategies.
Match the clip to the platform
One more mistake shows up constantly. Creators use the same framing and same caption everywhere.
That usually weakens performance. A dramatic gameplay moment may work on Shorts. A direct opinion clip may work better on TikTok. A brand or developer stream may get more traction from teachable product moments, behind-the-scenes commentary, or clear reactions than from raw stream chaos.
The distribution plan should decide what to post where. Not the other way around.
The Done-for-You Alternative
DIY clipping makes sense at the start. It stops making sense when the creator's time gets more valuable than the edit.
Serious streamers, founders, and brand teams commonly encounter a barrier. The issue isn't finding one clip. It's turning one recording into a repeatable content system without spending nights in editing software.
The broader business need is already clear. 73% of B2B marketers say recordings are their number one lead source, yet only 1 in 3 have a scalable way to create a full suite of on-brand assets from them, as covered in this discussion of recordings, lead generation, and content bottlenecks.

What the service model actually changes
Instead of editing internally, the creator sends one recording. That can be a Twitch VOD, podcast, webinar, keynote, interview, meeting recording, or sales call.
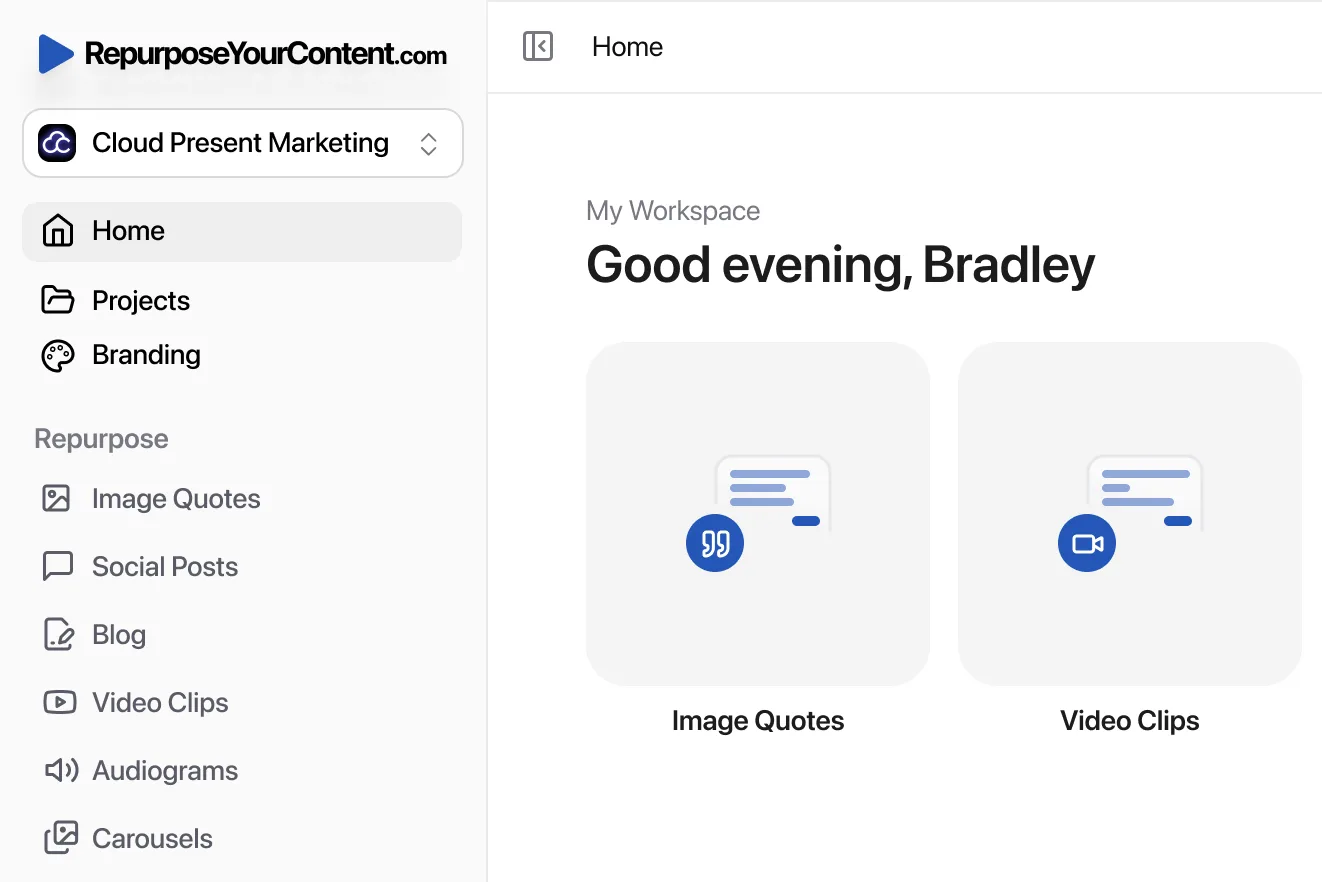
The team sends back 20 to 30 ready-to-publish assets in 72 hours. That includes video clips, LinkedIn posts, quote graphics, carousels, audiograms, and a blog post, all in the client's brand voice, with unlimited revisions. The client's time is about 15 minutes.
For Twitch specifically, the standard package often looks like this:
- 8 to 12 vertical clips with captions for TikTok, Shorts, and Reels
- 2 to 3 quote or highlight graphics
- Platform captions written for each clip
- A recap post that ties the stream together and points viewers back to the channel
That's enough content to keep feeds active between live sessions.
Why this works better for busy creators
The manual workflow asks the streamer to be the host, editor, copywriter, designer, and scheduler. That isn't efficient.
The done-for-you model removes context switching. It also fixes the quality drift that happens when a creator rushes through post-production late at night. Brand consistency improves. Output gets steadier. The stream keeps feeding distribution without stealing time from the next stream.
The best creators protect creative time. They don't spend it exporting, recropping, captioning, and rewriting the same post three times.
For teams weighing options, the useful comparison isn't software versus no software. It's hours of internal labor versus an external team that returns finished work. The second model is why video repurposing services keep gaining traction with busy operators.
Stop Editing, Start Growing
The most effective way to turn Twitch streams into clips is to treat the stream as raw material, not the finish line. Save the VOD before it disappears. Mark moments when the audience reacts. Edit for vertical viewing. Publish on a schedule that stays active between streams.
That's the workable system.
For creators who want to do it manually, the path is clear. It just takes real time every week. For creators who already know that post-production keeps slipping, delegation is the cleaner answer. The result is the same goal either way: consistent clips that pull new viewers in from TikTok, YouTube Shorts, and Reels, then send them back to the next live stream.
A Twitch channel can build trust. Clips build discovery. That's why clipping isn't an extra task attached to streaming. It is the growth engine behind it.
If the goal is to keep a long-form video strategy working across more than one channel, repurposing livestream recordings is the right mindset. The stream happens once. The distribution should keep working long after.
If a three-hour Twitch stream should become a week of content instead of an expired archive, book a call with RepurposeYourContent or request a sample. Send one recording and get 20 to 30 ready-to-publish assets in 72 hours, with a 72-hour turnaround guarantee or you don't pay, from $14 per finished asset. One 45-minute recording becomes 30 assets.
Tags: